

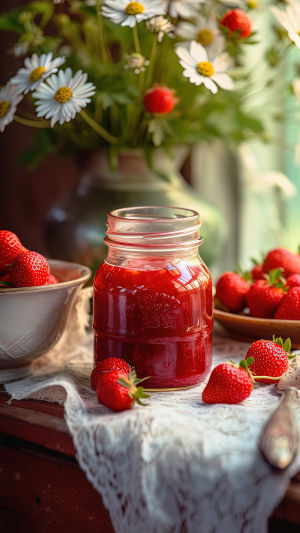
Strawberry jam is a beloved classic that brings the vibrant, sweet essence of summer strawberries to your breakfast table all year round.
Whether slathered on warm toast, dolloped on scones, or swirled into yogurt, homemade strawberry jam offers a delightful burst of flavor that store-bought varieties often can't match.
Today, we'll explore the charm of strawberry jam, guide you through a simple recipe, and share tips on how to store it to keep it fresh and delicious for months to come.
<h3>The Allure of Strawberry Jam</h3>
Strawberries are not only delicious but also packed with vitamins, antioxidants, and fiber, making strawberry jam a tasty and somewhat nutritious treat. The process of making jam transforms fresh, seasonal berries into a versatile spread that captures their essence perfectly. Plus, homemade jam allows you to control the sweetness and avoid preservatives found in commercial products.
<h3>How to Make Strawberry Jam: A Simple Recipe</h3>
Making strawberry jam at home is surprisingly easy and requires just a few basic ingredients. Here's a straightforward recipe to get you started:
<b>Ingredients:</b>
• 2 pounds fresh strawberries, hulled and mashed
• 4 cups granulated sugar
• 1/4 cup lemon juice
Making and Canning the VERY BEST Low Sugar Strawberry Jam
Video by Acre Homestead
<b>Instructions:</b>
<b>1. Prepare the Strawberries:</b>
Wash and hull the strawberries, then mash them using a potato masher or pulse them briefly in a food processor for a chunkier texture.
<b>2. Combine Ingredients:</b>
In a large, heavy-bottomed pot, combine the mashed strawberries, sugar, and lemon juice. The lemon juice not only adds a hint of tartness but also helps in setting the jam.
<b>3. Cook the Mixture:</b>
Bring the mixture to a boil over medium-high heat, stirring constantly to dissolve the sugar. Once boiling, reduce the heat slightly and continue to cook, stirring frequently to prevent sticking and burning.
<b>4. Test for Doneness:</b>
In 20 to 30 minutes, the jam will get thicker. Before you start cooking, put a tiny dish in the freezer to test. Once you believe the jam is done, put a teaspoonful over the chilled platter. It's finished if it wrinkles when you press it with your finger. If not, cook for a few more minutes and do another test.
<b>5. Sterilize Jars:</b>
Sterilize your jars and lids by boiling them in water for ten minutes while the jam is cooking. Heat them until you're ready to use them.
<b>6. Jar the Jam:</b>
Ladle the hot jam into the sterilized jars with caution, being sure to leave a 1/4-inch headspace. To achieve a proper seal, wipe the rims clean, seal with the lids, and process in a boiling water bath for 10 minutes.
<b>7. Cool and Store:</b>
Allow jars to cool for a full day without opening. Press the middle of each lid to check the seals; the lid shouldn't pop back. Jars should be kept in a dark, cool area.
Making strawberry jam is not only a rewarding culinary project but also a way to preserve the flavors of summer for the colder months. Whether you're a seasoned canner or a beginner, the process is straightforward and immensely satisfying. With a little time and care, you can create batches of strawberry jam that will bring joy to your table and make delightful homemade gifts for friends and family. So gather your freshest strawberries, follow our simple recipe, and savor the sweet success of homemade strawberry jam!


