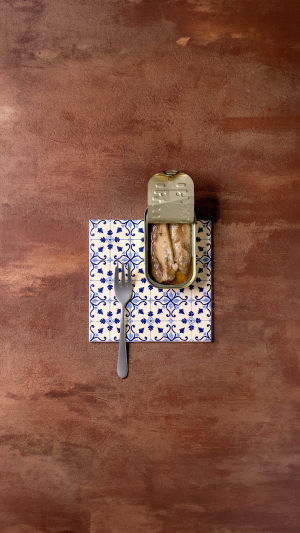
Hello Lykkers! Today, we're diving into a delightful and traditional recipe for preserving fresh tuna in oil. This method has been passed down through generations, ensuring the rich taste of fish can be enjoyed even after the season ends.
By following the steps carefully, you'll have a delicious, homemade preserve ready to enjoy throughout the year. Let's get started!
<h3>Ingredients:</h3>
<b>For the Preservation:</b>
- 5 kg of tuna (or other types of oily fish)
- 2 lemons
- 6 bay leaves
- 4 liters sunflower oil (approximately)
- 8 liters water
- 560 g salt (70 g per liter of water)
<b>Tools Required:</b>
- 2 large pots
- Colander
- 2 bowls
- Chopping board
- 3 trays
- Paper towels
- 8 glass jars (500 g each) with lids
- 4 cloth napkins
<h3>Preparation Steps:</h3>
<b>1. Ensure Freshness of Fish:</b>
Begin by checking that the tuna is as fresh as possible. Fresh fish is key to achieving the best flavor and texture for your preserve. If you are using other types of oily fish like mackerel or bonito, follow the same procedure.
<b>2. Cut the Fish:</b>
For tuna, cut it into cubes of about 5 cm, removing the skin. For other fish, cut into similar-sized pieces, or halve them depending on the size of the fish.
<b>3. Prepare the Water and Salt Solution:</b>
In each large pot, pour 4 liters of water. Add 280 grams of salt (70 g per liter). Squeeze in the juice from one lemon and add 2 bay leaves. Stir to dissolve the salt.
<b>4. Boil the Fish:</b>
Place the fish pieces into the pots. Cover with a lid and bring the water to a boil. Once boiling, remove the lid and set a timer for 1 hour and 30 minutes. Keep the pot uncovered to allow the steam to escape.
<b>5. Drain and Cool:</b>
After 1 hour and 30 minutes, remove the fish from the pot and drain it. Let the pieces cool. Once cool, remove any dark parts (the bloodline). These can be saved for future use in sauces or spreads.
<b>6. Dry the Fish:</b>
Place the fish pieces on trays lined with paper towels. Be sure to space them out to ensure they dry evenly. Every 12 hours for a total of 48 hours, change the paper towels and turn the fish pieces to ensure they dry thoroughly.
<b>7. Sterilize the Jars:</b>
While the fish is drying, sterilize the jars and lids by boiling them in water. Once sterilized, place them upside down on a clean surface to dry.
<b>8. Fill the Jars:</b>
After 48 hours of drying, carefully pack the fish pieces into the sterilized jars, filling them to about 1.5 cm from the top. If any fish breaks into smaller pieces, set them aside in a separate jar to use for pasta or other dishes.
<b>9. Add Oil:</b>
Fill the jars with sunflower oil, ensuring the fish is completely covered. Leave about half a centimeter of space from the top of the jar. Seal the jars tightly with the lids.
<b>10. Boil the Jars:</b>
Clean the pots you used for boiling and place a cloth napkin at the bottom of each pot. Arrange the jars inside, placing additional napkins between the jars to prevent them from touching. Fill the pots with water, covering the jars. Bring the water to a boil and then simmer for 30 minutes.
<b>11. Cool the Jars:</b>
After 30 minutes, turn off the heat and allow the jars to cool gradually in the water. Once cool enough to handle, remove them and place them on a clean surface.
<b>12. Wait for the Vacuum Seal:</b>
You'll notice the oil in the jars may appear cloudy after boiling. This is normal and will clear up over time. As the jars cool, you should hear a "pop," indicating the vacuum seal has formed.
<h3>Storage and Tips:</h3>
<b>1. Store Properly:</b>
The sealed jars can be stored in a cool, dark place for up to one year. However, once opened, they should be kept in the fridge and consumed within a few days. Always ensure the fish remains covered in oil to maintain freshness.
<b>2. Caution and Safety:</b>
As with any preservation method, it is crucial to follow the steps carefully to avoid any bacterial growth. Ensure proper sterilization of jars and maintain the correct salt-to-water ratio for safety.
<h3>Conclusion:</h3>
Preserving tuna in oil is a timeless practice that not only enhances the fish’s flavor but also allows for year-round enjoyment. By following this simple and systematic process, you’ll have a delicious, homemade preserve ready to share with friends and family. Happy cooking, Lykkers, and enjoy the fruits of your labor!


